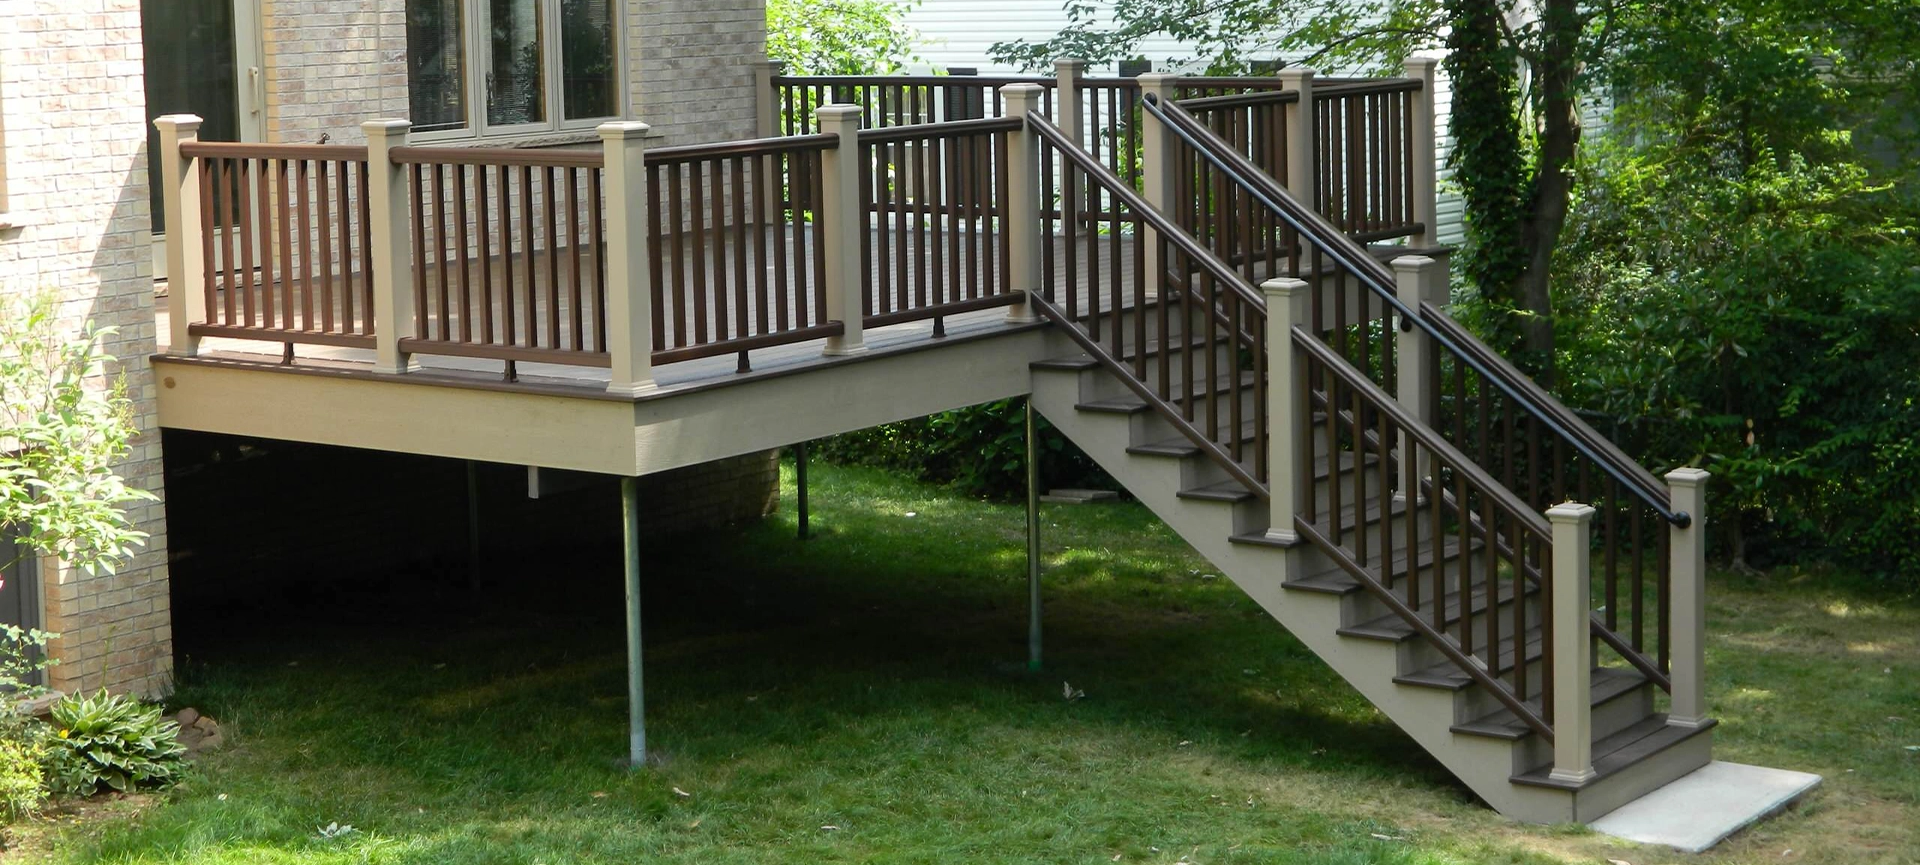
Winter can be harsh on outdoor structures. Snow, ice, moisture, and temperature swings place constant stress on wood and composite decks. By the time spring arrives, surfaces may look dull, boards can loosen, and moisture damage may begin to develop.
A careful inspection and restoration routine in early spring protects the structure and restores the appearance of your deck. Small repairs and maintenance now help prevent larger structural problems later.
Why Spring Is the Best Time to Restore a Deck
Spring offers ideal conditions for deck inspection and maintenance. The snow has melted, moisture levels begin to stabilize, and warmer temperatures allow cleaning products, stains, and sealers to cure properly.
Inspecting the deck early also helps identify problems caused by winter before they worsen during summer use.
Seasonal restoration offers several benefits:
- Prevents structural deterioration caused by trapped moisture
- Restores colour and surface appearance
- Extends the lifespan of decking materials
- Improves safety before heavy seasonal use
- Prepares the surface for staining or sealing
For homeowners who rely on their deck for relaxing, dining, and entertaining, early maintenance ensures the space is ready when warm weather arrives.
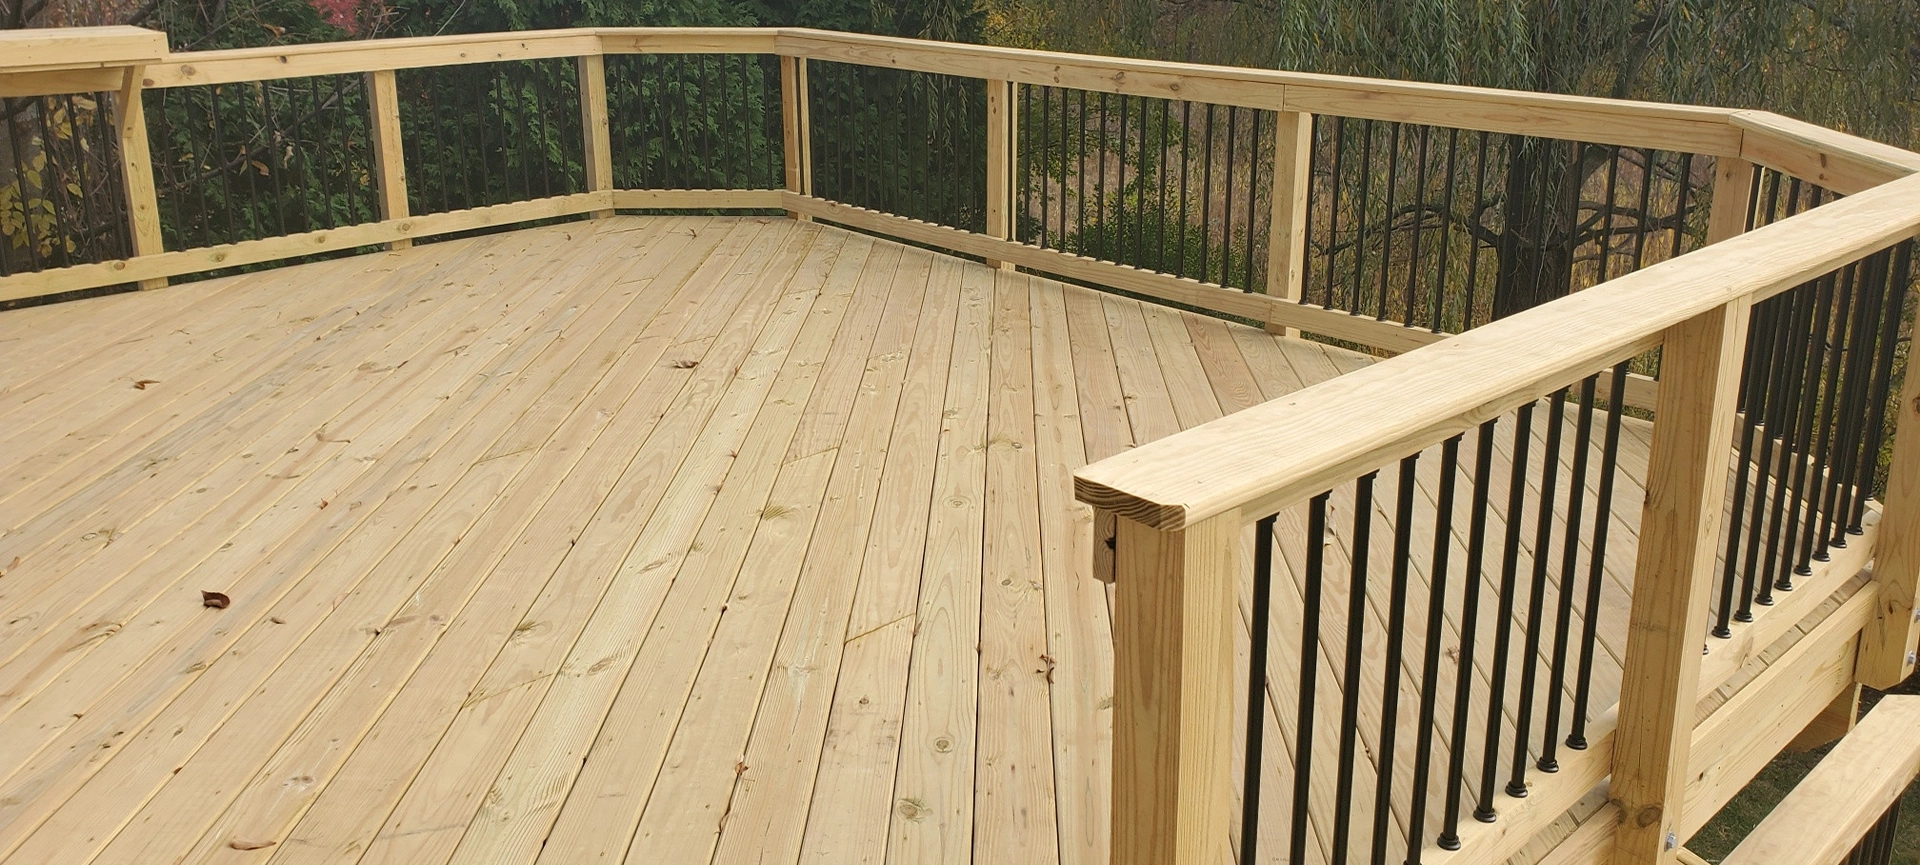
Step One: Inspect the Deck Structure
The first step in any restoration process is a thorough inspection. Winter moisture and freeze-thaw cycles can loosen hardware and shift structural components.
Start by examining the main frame and support system.
Look for these structural warning signs:
- Loose or wobbly railings
- Soft or spongy deck boards
- Visible rot or wood decay
- Rusted or corroded fasteners
- Boards that have lifted or warped
Pay particular attention to areas where the deck connects to the house. Ledger boards must remain firmly secured to maintain structural stability.
If any components feel unstable or severely damaged, professional deck restoration and repair may be necessary before continuing with cosmetic restoration.
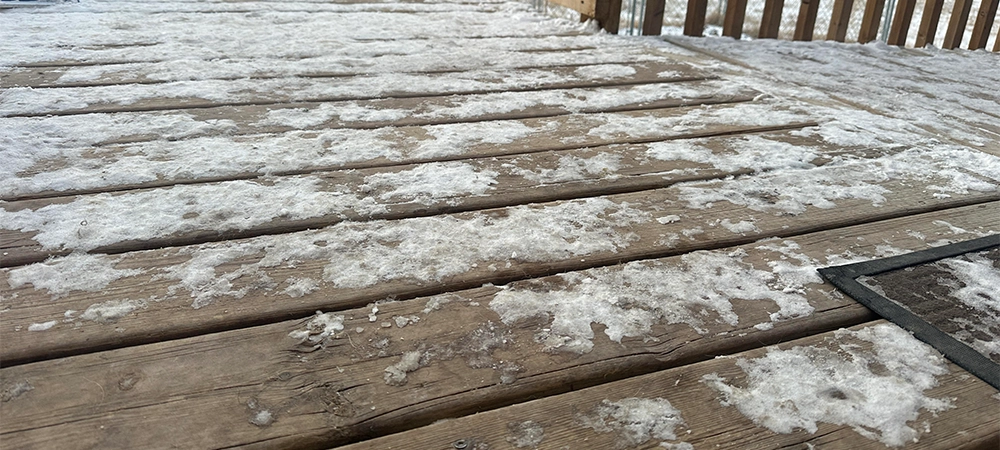
Step Two: Check for Moisture Damage and Rot
Wood decks are particularly vulnerable to moisture damage after winter. Snow accumulation and ice buildup trap water against the surface for extended periods.
Inspect boards closely for signs of deterioration.
Common indicators include:
- Darkened wood patches
- Crumbling or brittle edges
- Splitting along the grain
- Persistent soft spots under pressure
Probe suspect areas with a screwdriver or similar tool. If the wood easily penetrates or crumbles, replacement may be required.
Addressing moisture damage early prevents it from spreading to adjacent boards or framing components.
Step Three: Tighten Fasteners and Reinforce Hardware
Over time, deck hardware can loosen due to seasonal expansion and contraction. Nails may rise, screws may shift, and brackets can become unstable.
Walk across the deck slowly and listen for movement or squeaking.
During this step:
- Hammer down lifted nails
- Tighten loose screws
- Replace corroded fasteners
- Reinforce joist hangers and brackets
Stainless steel or coated fasteners are recommended for outdoor structures because they resist corrosion better than standard hardware.
Securing all fasteners improves stability and prevents gradual structural weakening.
Related Article: Benefits of Using Helical Piles for Your Deck
Step Four: Deep Clean the Deck Surface
Cleaning removes winter residue that can degrade deck materials and affect staining or sealing later.
Dirt, mould spores, salt, and organic debris accumulate throughout winter. If left untreated, they encourage mildew growth and surface discoloration.
Begin with a thorough sweep to remove leaves, soil, and loose debris.
Next, wash the deck using a suitable cleaning method:
Deck cleaning options include:
- Oxygen-based deck cleaners
- Mild soap and water solutions
- Pressure washing at controlled settings
Pressure washers should be used carefully to avoid damaging wood fibres. Excessive pressure can leave permanent marks on softer woods.
Cleaning also restores the natural colour of the material and reveals areas requiring further repair.
Step Five: Sand Rough or Damaged Areas
After cleaning and drying, inspect the deck surface for splinters, rough edges, and worn areas.
Winter exposure often raises wood grain or causes minor surface damage.
Light sanding helps smooth the deck and prepares the surface for protective coatings.
Focus on:
- High-traffic areas
- Board edges and corners
- Areas with splintering
- Sections where old stain is peeling
Sanding improves comfort underfoot and ensures new finishes adhere evenly.
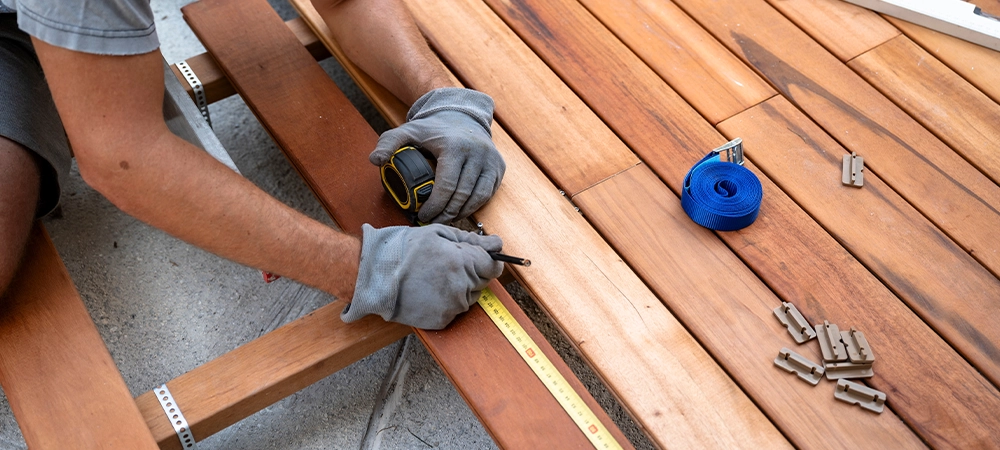
Step Six: Replace Damaged Boards
Some boards may be beyond repair after winter exposure. Boards that are severely cracked, warped, or rotted should be replaced.
Replacing damaged boards prevents structural problems and improves the deck’s appearance.
When installing replacement boards:
- Match the existing decking material
- Use weather-resistant fasteners
- Ensure proper spacing for drainage and expansion
This step restores structural integrity and creates a consistent surface before refinishing.
Related Article: Disadvantages of Pressure-Treated Pine for Decking
Step Seven: Apply Stain or Protective Sealant
Protective coatings are essential for maintaining a deck through changing seasons.
Stain or sealant protects the wood from ultraviolet exposure, moisture penetration, and temperature fluctuations.
Spring is the best time to apply these finishes because moderate temperatures allow proper absorption and curing.
Choose a finish based on the desired appearance and protection level:
| Finish Type | Appearance | Protection Level |
|---|---|---|
| Transparent sealer | Natural wood look | Moderate moisture protection |
| Semi-transparent stain | Enhances wood grain | Balanced protection |
| Solid stain | Painted appearance | Maximum UV protection |
Allow the deck to dry fully after cleaning and sanding before applying any finish.
Step Eight: Evaluate Safety Features
Before declaring the restoration complete, assess safety features across the entire deck.
Check that:
- Railings are secure
- Steps are stable and level
- Lighting fixtures are functioning
- Drainage around the deck remains unobstructed
Safety checks ensure the deck is ready for gatherings and regular use.
Signs Your Deck May Need Professional Restoration
While many maintenance tasks are manageable for homeowners, certain problems require professional attention.
Consider expert restoration if you notice:
- Significant structural movement
- Large areas of rot or insect damage
- Multiple warped boards
- Drainage issues beneath the deck
- Age-related deterioration across the entire structure
Professional deck restoration ensures repairs are completed safely and correctly. Experienced contractors also assess structural components that may not be visible from the surface.
Green Side Up Contracting provides deck restoration and outdoor improvement services that help homeowners maintain safe and attractive outdoor spaces.
Related Article: 10 Must-Ask Questions Before You Build Your Deck
Your Recommended Next Step
A spring restoration routine protects your deck from long-term damage and ensures the space is ready for months of outdoor enjoyment.
By inspecting structural components, repairing damaged boards, cleaning the surface, and applying protective finishes, homeowners can extend the life of their deck while restoring its visual appeal.
If your deck shows signs of wear after winter or requires more extensive repairs, professional restoration can ensure the structure remains safe and durable for years to come.
Contact us to schedule a consultation and restore your deck before the outdoor season begins.
Frequently Asked Questions
How often should a deck be restored or resealed?
Most wood decks should be resealed every two to three years, depending on weather exposure and foot traffic. Annual inspections help determine when refinishing is required to maintain protection.
Can I pressure wash a deck safely?
Yes, but it must be done carefully. Excessive pressure can damage wood fibres. Use a wide spray tip and moderate pressure settings to avoid gouging the surface.
What temperature is best for staining a deck?
Most stains cure best between 10°C and 30°C. Avoid applying stain during extreme heat or when rain is expected within 24 hours.
How long does a typical deck restoration take?
Basic cleaning and sealing may take one to two days. Larger restoration projects involving repairs or board replacement may take several days, depending on the deck size.
What causes deck boards to warp after winter?
Moisture absorption followed by drying cycles can cause wood to expand and contract. Over time, this movement leads to warping, cracking, or splitting.