After a long winter, there’s nothing better than getting your backyard pool ready for warm-weather enjoyment. But opening a pool for the summer requires more than just pulling off the cover and jumping in. Done properly, pool opening sets the stage for a safe, clean, and stress-free season.
Whether you’ve got an above-ground or in-ground pool, this guide walks you through the essential steps for a successful summer opening.
Related Article: Step-by-Step Pool Restoration Process
1. Gather the Right Tools and Supplies
Before you begin, it’s important to have all the necessary equipment on hand. This ensures the process is smooth and avoids multiple trips to the pool store.
Essentials include:
- Pool cover pump or siphon
- Pool skimmer or leaf net
- Pool brush and vacuum
- Water test kit or strips
- Start-up chemicals (chlorine, algaecide, shock, pH balancers)
- Pool filter cartridges or DE (if needed)
- Lubricant for O-rings
- Garden hose
- Safety goggles and gloves
Green Side Up recommends inspecting your tools a week before opening day so you’re fully prepared.
Related Article: What Is the Best Time to Build a Pool?
2. Remove and Clean the Pool Cover
Start by clearing off leaves, water, and debris from the pool cover using a skimmer and a submersible pump. Once clear, remove the cover slowly to avoid dumping debris into the pool.
Pro Tip: Let the cover dry before folding and storing it. This prevents mildew and extends its lifespan.
Inspect the cover for tears or damage—if it’s beyond repair, now’s the time to order a replacement.
3. Reinstall Pool Equipment
After the winter, certain components will need to be reattached:
- Reinstall ladders, diving boards, and rails if removed.
- Reconnect the pump, filter, heater, and chlorinator.
- Replace drain plugs and pressure gauges.
- Lubricate O-rings and gaskets to ensure watertight seals.
Make sure all connections are tight and equipment is clean before restarting the system.

What Are O-Rings in a Pool System?
O-rings are small, rubber gaskets used to create watertight seals in pool equipment—such as pump lids, filters, and chlorinators. These rings prevent leaks and maintain proper pressure. Over time, O-rings can dry out or crack, so it’s important to inspect and lubricate them at the start of the season. Replacing worn O-rings ensures your pool system runs efficiently and safely.
Related Article: How to Winterize a Swimming Pool
4. Remove Winterizing Plugs and Refill the Pool
If you used winter plugs to prevent freezing, remove them from the return lines and skimmers. Then, reconnect your return fittings and jets.
Use a garden hose to top up the pool to its proper water level—usually halfway up the skimmer opening.
5. Prime and Start the Filtration System
Once the pool is full, it’s time to prime the pump and start circulating the water. Watch for any leaks or unusual noises. Let the system run for several hours to help clear out stagnant water and distribute chemicals evenly.
If your filter hasn’t been cleaned or replaced in a while, this is the best time to do it. A dirty filter can reduce water clarity and strain the system.
6. Clean the Pool Interior
Debris and algae may have accumulated during the off-season. Use a skimmer net to remove large debris and then:
- Brush the pool walls and floor.
- Vacuum thoroughly.
- Backwash or clean the filter once the vacuuming is complete.
Keeping the pool clean before chemical treatment ensures better accuracy in balancing the water.
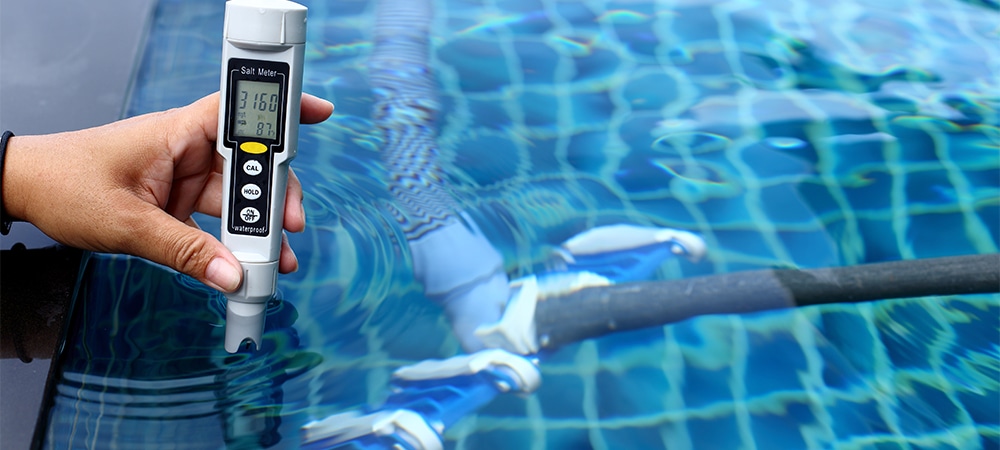
7. Test and Balance the Water
Once the water is circulating, it’s time to test for:
- pH level (ideal: 7.4–7.6)
- Alkalinity (80–120 ppm)
- Calcium hardness (200–400 ppm)
- Chlorine (1–3 ppm)
- Cyanuric acid/stabilizer (30–50 ppm)
Adjust chemical levels as needed. If you’re unsure, take a water sample to your local pool store for professional testing.
Green Side Up recommends a gradual approach—adjust one element at a time and retest frequently until balanced.
8. Shock and Sanitize
To eliminate any bacteria, algae, or contaminants left over from the winter, it’s essential to shock the pool. Add a chlorine shock treatment while the pump is running to help circulate it.
Important: Wait at least 24 hours after shocking before swimming, and recheck the chlorine levels to ensure they’re safe.
Add an algaecide or clarifier if your pool looks cloudy or green after treatment.
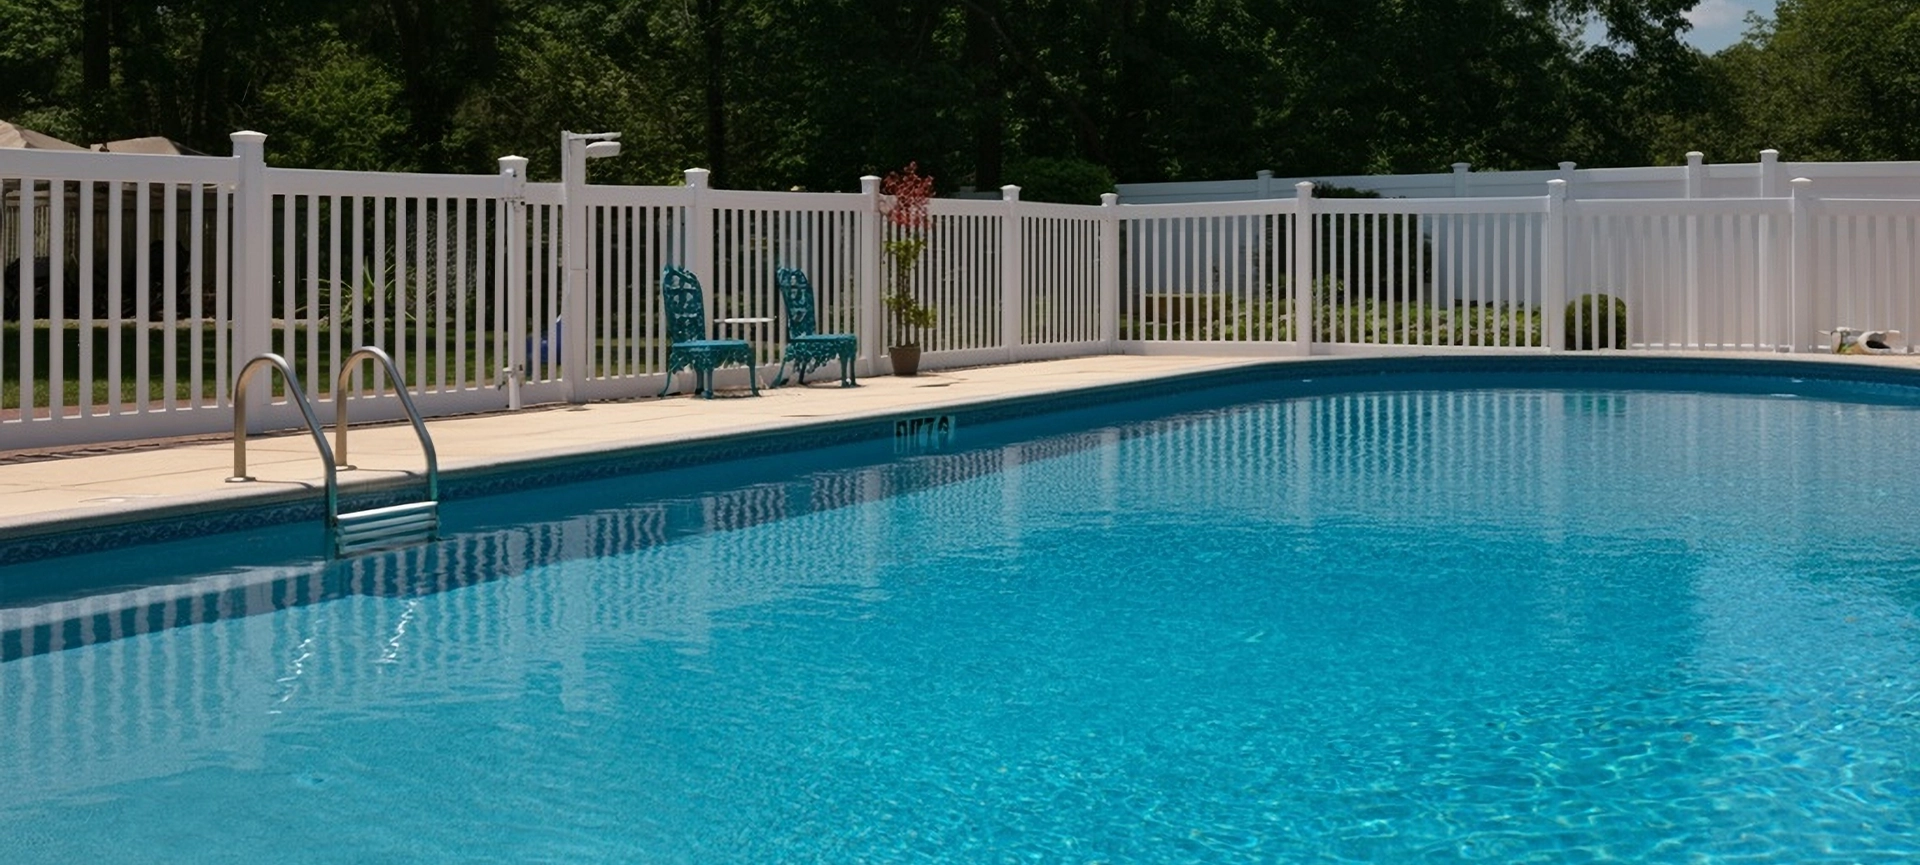
9. Inspect and Adjust Safety Features
Now that your pool is nearly swim-ready, don’t forget safety:
- Check fencing and gates for compliance with local codes.
- Ensure self-closing mechanisms and locks are functioning.
- Inspect pool alarms, safety covers, and lighting.
Safety should never be an afterthought—especially in homes with children or pets.
10. Schedule Regular Maintenance
The key to a long-lasting, clean pool is regular upkeep. Weekly maintenance includes:
- Skimming leaves and debris
- Vacuuming or robotic cleaning
- Testing and adjusting water chemistry
- Checking equipment and water level
If you’d prefer a hands-off approach, Green Side Up offers seasonal maintenance packages so you can enjoy your pool worry-free all summer.
Related Article: Pool Construction Cost Explained
Why Trust Green Side Up for Your Pool Opening?
With years of experience in landscape construction and pool services in the GTA, Green Side Up Contracting provides reliable and professional pool opening solutions. We don’t just prepare your pool—we ensure it’s safe, balanced, and visually ready for backyard fun. We also offer pool deck services, pool coping, landscaping upgrades, full backyard transformations and more.
Start Your Pool Season Right
Opening your pool is more than a spring chore—it’s the first step to enjoying summer. By following the right steps and partnering with trusted experts like Green Side Up, you can make sure your pool is clean, safe, and ready for family and friends.Ready for a smooth pool opening this season? Contact Green Side Up for expert pool services and get your backyard summer-ready today.