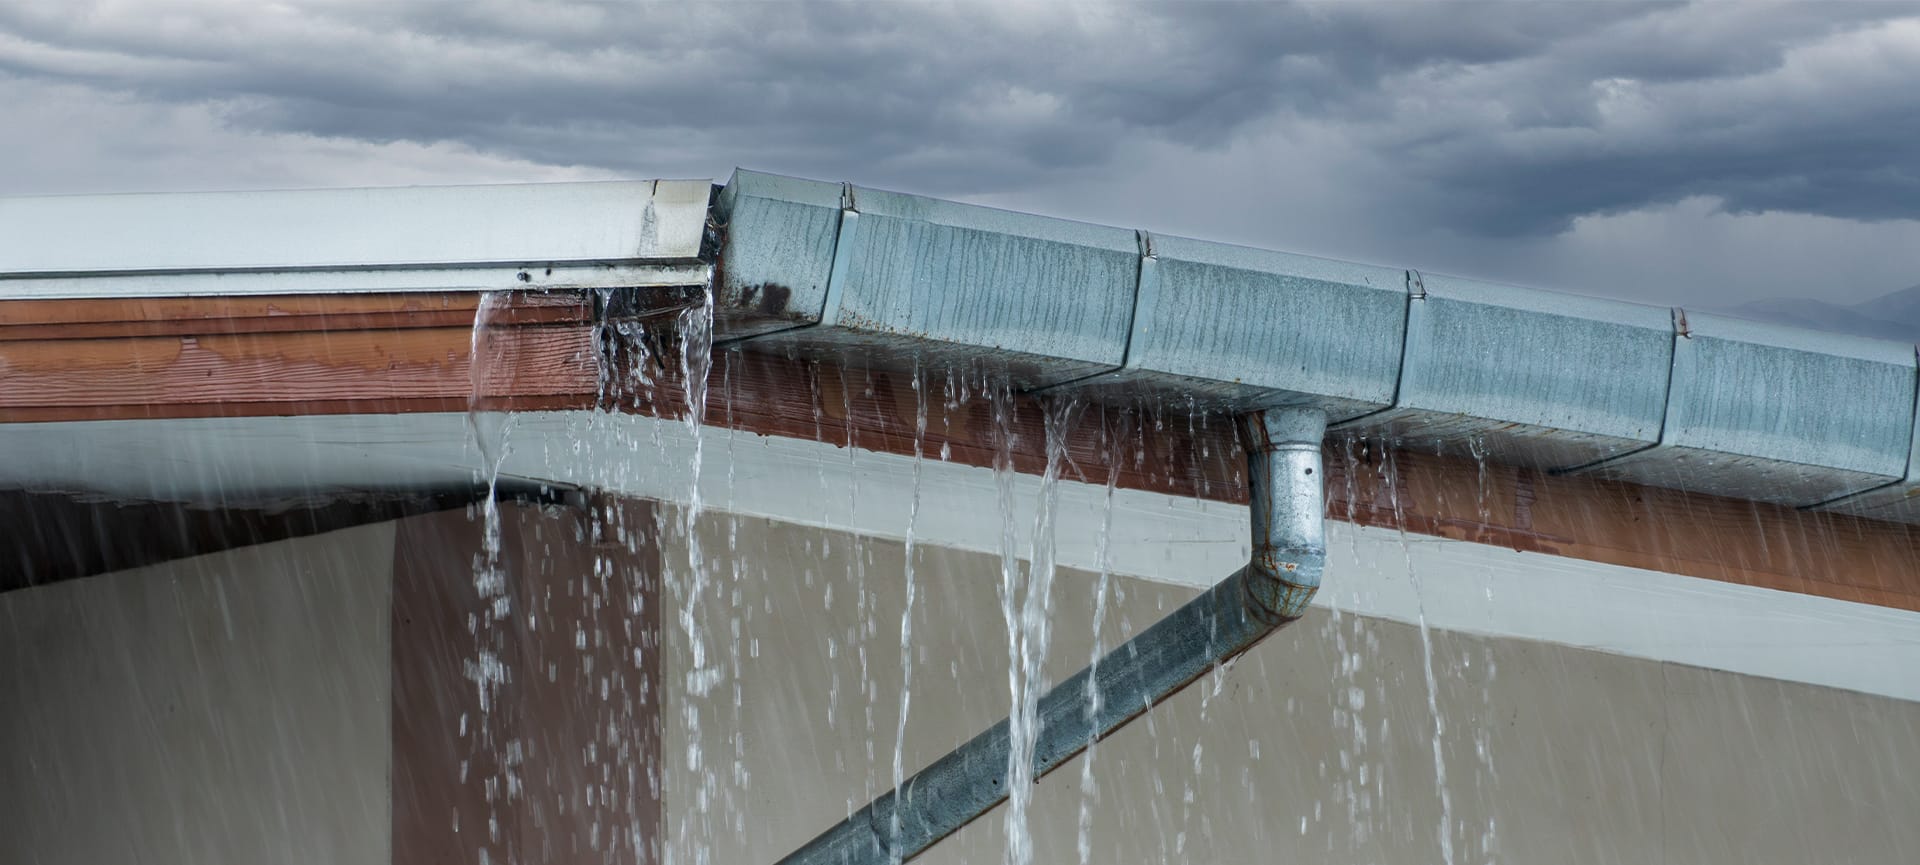
Think of an eavestrough as the roof’s drainage channel. It runs the full length of the fascia, catches every drop rolling off the shingles, and steers that water into downspouts that release well clear of your foundation. When seams split or sections sag, runoff spills over the edge, soaking siding, flowerbeds, and basement walls.
Quick action protects structural wood, prevents soil erosion, and saves you from expensive interior repairs. The good news: once you understand how the trough, hangers, and downspouts work together, most leaks are easy to spot and even easier to fix.
Interested to know further? The guide breaks the job into fast, manageable steps. Follow along and you’ll have leak-free eavestroughs before the next forecasted storm.
Related Article: How Much Does It Cost to Replace Eavestrough
Understanding Why Eavestroughs Leak
Even the best aluminum troughs lose their watertight seal over time. Knowing the usual culprits helps you target repairs instead of guessing.
Leaking triggers to look for:
- Debris that overfills the channel and forces water through seams
- Loose hanging brackets that break the required slope
- Dried-out sealant along mitres and end caps
- Pinholes or rust blisters on older steel sections
- Ice dams that pry joints apart in winter
Safety First: Prep and Tools
A sound repair starts with the right gear. A quick safety check keeps feet on the ladder and hands out of the ER.
Gather these items before climbing:
- Extension ladder with stabilizer arms and solid footing blocks
- Cut-resistant gloves and clear safety glasses
- Plastic scoop, bucket, and stiff brush for debris
- High-quality gutter sealant rated for wet or dry surfaces
- Tin snips, cordless drill, and rust-proof screws
- Replacement sections or slip joints if the metal is beyond patching
Related Article: How to Clean Trex Decking
Step 1: Inspect and Clean Thoroughly
You can’t see a pinhole under packed leaves, so sweep first and troubleshoot second.
Work method:
- Scoop out leaves and pine needles from all channels.
- Brush away fine grit and rinse with a garden hose.
- Note any places where water drips through or dribbles over the side.
Step 2: Pinpoint the Leak Points
Now that the troughs are spotless, you can spot problem areas with ease.
Tip checklist:
- Run a slow stream from the hose at the high end and watch for drips.
- Mark each leaky joint or hole with painter’s tape.
- Check behind the trough for damp fascia wood — hidden leaks often pool there.
Step 3: Seal Minor Joint Leaks
Most leak spots occur where two sections meet. Fresh sealant keeps water in the channel and out of your siding.
Fast fix:
- Dry the area with a clean rag.
- Apply a quarter-inch bead of gutter sealant along the inside seam.
- Smooth the bead with a gloved finger for full contact.
- Let the product cure as directed; usually 30 minutes before water contact.

Step 4: Patch Holes and Corroded Spots
A tiny pinhole can move gallons of water in one storm. Patch quickly to stop hidden damage.
How to patch:
- Snip a scrap of matching metal big enough to overlap the hole by 1 inch.
- Coat the scrap and host surface with sealant.
- Press the patch into place and add a topcoat of sealant around the edges.
Step 5: Replace Damaged Sections
Sealant cannot rescue metal that is crushed, twisted, or full of rust pits. Swapping one length is faster than chasing repeat leaks.
Replacement steps:
- Unscrew the brackets on both ends of the bad section.
- Slip out the damaged length and clean neighbouring edges.
- Insert the new piece and secure it with screws through fresh pilot holes.
- Seal both butt joints inside and out for an airtight finish.
Step 6: Check Downspouts and Splash Blocks
Downspouts carry water to ground level, so leaks here can wash out gardens and pave the way for basement leaks.
Quick review:
- Inspect seams and elbows for gaps or missing screws.
- Verify the downspout ends at least five feet from the foundation.
- Position splash blocks so runoff heads downhill and away.
Step 7: Test Your Work with Water
A final hose test shows whether every fix sticks.
Testing plan:
- Start the water at the high end and watch for flow.
- Confirm that the troughs drain to the downspout without drips.
- Inspect the ground level for the borders of soil washout.
Related Article: Common Pool Issues and How We Fix Them For You
Preventive Maintenance Tips
Stop leaks before they start with routine upkeep that adds years to your eavestroughs.
Seasonal habits:
- Clean twice a year – in late spring and after fall leaf drop.
- Trim tree limbs that hang above the roof line.
- Confirm that the brackets stay tight so the slope never flattens.
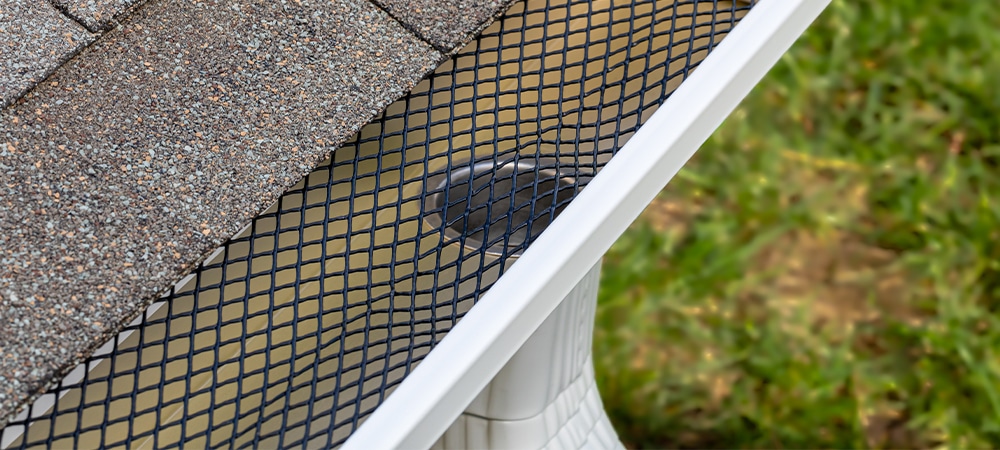
- Add leaf guards if nearby trees drop heavy debris.
When to Call Green Side Up
Some homeowners enjoy weekend fixes, while others prefer a pro touch. Calling experts saves time and ensures workmanship that stands up to a GTA downpour.
Reasons to hire:
- Multi-story homes that require scaffolding or tall ladders
- Widespread rust or warped fascia boards require carpentry skills
- Plans to upgrade exterior trim, deck, or fence during the same project
Green Side Up Contracting combines award-winning expertise with safe job practices. A quick inspection yields an honest quote, and the same crew can bundle gutter repairs with deck waterproofing or staining or landscape cleanup.
Your Leak-Free Gutters Await
A calm, step-by-step repair keeps rainwater where it belongs: flowing through the trough, down the spout, and away from your foundation. Consistent upkeep guards against soil erosion, siding stains, and costly basement repairs.
If you uncover cracked fascia, warped troughs, or multiple stories of loose brackets, the project shifts from DIY to pro-level work. That is the moment to call Green Side Up Contracting. Our award-winning crew arrives with proper ladders, safety gear, and weather-rated sealants, finishing the job quickly and cleanly. Book an appointment today and enjoy peace of mind every time the clouds roll in.