Installing deck railing properly combines essential safety compliance with style enhancement, creating an outdoor space that protects your family while adding visual appeal to your home. Deck railings serve a critical dual purpose: preventing falls from elevated decks while transforming basic decking into an attractive, finished living area that increases property value.
This comprehensive installation guide covers everything from understanding local building codes and safety requirements to selecting materials and completing the installation process with professional-quality results, with a focus on the unique considerations relevant to homeowners in Toronto and the Greater Toronto Area (GTA).
What This Guide Covers
This guide provides complete deck railing installation instructions, including safety code compliance, material selection strategies, step-by-step installation procedures, and finishing touches. We focus specifically on DIY installation for residential decks in the Toronto and GTA region, excluding complex commercial applications or specialized structural modifications.
Who This Is For
This guide is designed for DIY homeowners with basic construction skills and contractors new to railing installation in the Toronto area. Whether you’re upgrading an existing deck or completing a new deck project, you’ll find practical guidance for achieving code-compliant, attractive results that meet local standards.
Why This Matters
Proper deck railing installation prevents serious accidents and ensures compliance with the International Residential Code as well as local Toronto building codes, avoiding potential fines or liability issues. Additionally, well-installed railings significantly enhance your outdoor space aesthetics and can increase property value by creating a finished, professional appearance.
What You’ll Learn:
- Essential safety codes and building requirements for residential decks in Toronto and the GTA
- Material pros and cons for different railing systems suited to the local climate
- Complete step-by-step installation process from layout to finishing touches
- Common installation challenges and proven solutions
Understanding Deck Railing Safety Requirements and Code Compliance
Deck railing safety requirements establish minimum standards designed to prevent falls and ensure structural integrity for anyone using elevated outdoor spaces.
Most codes require deck railings on any structure elevated more than 30 inches above the ground, with residential decks requiring a minimum railing height of 36 inches measured from the deck surface to the top rail. These requirements exist because falls from elevated decks result in thousands of injuries annually, many preventable through proper railing installation.
Essential Safety Standards
The International Residential Code establishes baseline requirements that local codes, including those in Toronto and the GTA, often expand upon. Deck railings must withstand a minimum horizontal force of 200 pounds applied at the top rail, ensuring they maintain structural integrity under normal use and impact.
Baluster spacing represents another critical safety requirement – no sphere larger than 4 inches in diameter should pass through any opening in the railing system. This standard specifically protects children from slipping through gaps while preventing accidental falls through the railing structure itself.
Local Code Variations
Local building codes in Toronto and the GTA may require higher railings (often 42 inches in commercial applications) or additional safety features based on regional conditions. Some jurisdictions specify particular materials, fastener requirements, or structural hardware standards that exceed basic IRC requirements.
Building on these safety standards, local variations ensure your railing system suits environmental factors like wind loads, seasonal weather changes, and other climate considerations common to the Toronto area.
Transition: Understanding these safety requirements provides the foundation for selecting appropriate materials that meet both code compliance and aesthetic goals.
Selecting Railing Materials for Style and Performance
Material selection directly impacts both safety compliance and long-term satisfaction with your deck railing installation, affecting maintenance requirements, durability, and visual appeal.
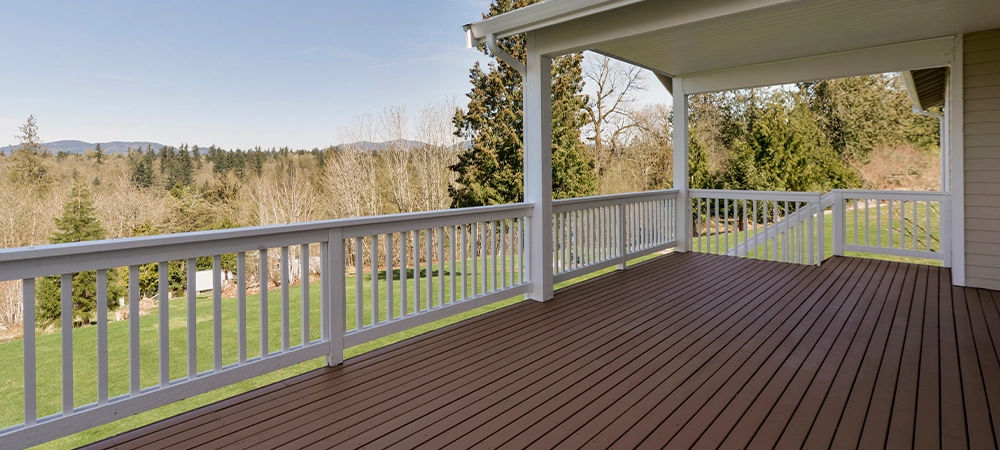
Wood Railings
Wood railings offer a classic look with excellent customization potential using pressure-treated wood, cedar, or redwood. Pressure-treated lumber provides the most cost-effective option with decent durability, while cedar offers natural resistance to rot and insects with minimal maintenance beyond periodic sealing.
Wood railings require regular maintenance, including staining or painting every 2-3 years to protect against weather damage, but they allow complete design flexibility and easy repairs when damage occurs.
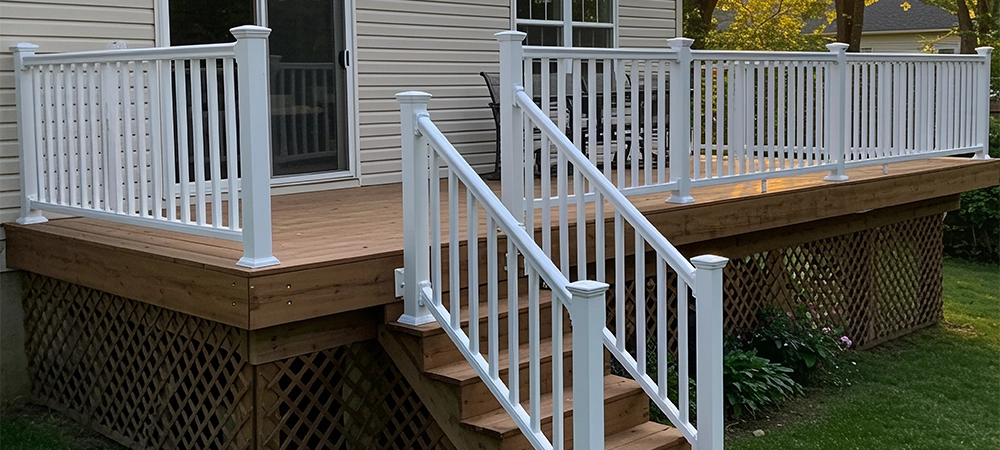
Composite and PVC Systems
Composite decking materials extend naturally to railing systems, providing a wood-like appearance with minimal maintenance requirements. Unlike wood, composite materials resist rot, insects, and UV damage while maintaining consistent colour and texture over decades, making them an excellent choice to prevent deck warping.
These systems typically cost more initially but offset higher upfront expenses through reduced maintenance and longer service life. Most composite railing systems include integrated brackets and structural hardware designed specifically for their material properties.
Metal Railing Options
Aluminum and steel railings deliver modern aesthetics with exceptional durability and low maintenance requirements. Aluminum offers natural corrosion resistance ideal for coastal areas, while steel provides maximum strength for high-traffic applications.
Both materials accept powder coating in virtually any colour, creating custom appearances that complement your deck design while providing decades of service with minimal upkeep beyond occasional cleaning.
Key Points:
- Wood offers maximum customization but requires regular maintenance
- Composite provides a wood appearance with minimal ongoing care
- Metal delivers modern style with exceptional longevity and strength
Transition: Once you’ve selected appropriate materials, the installation process requires careful attention to measurement, structural attachment, and code compliance.
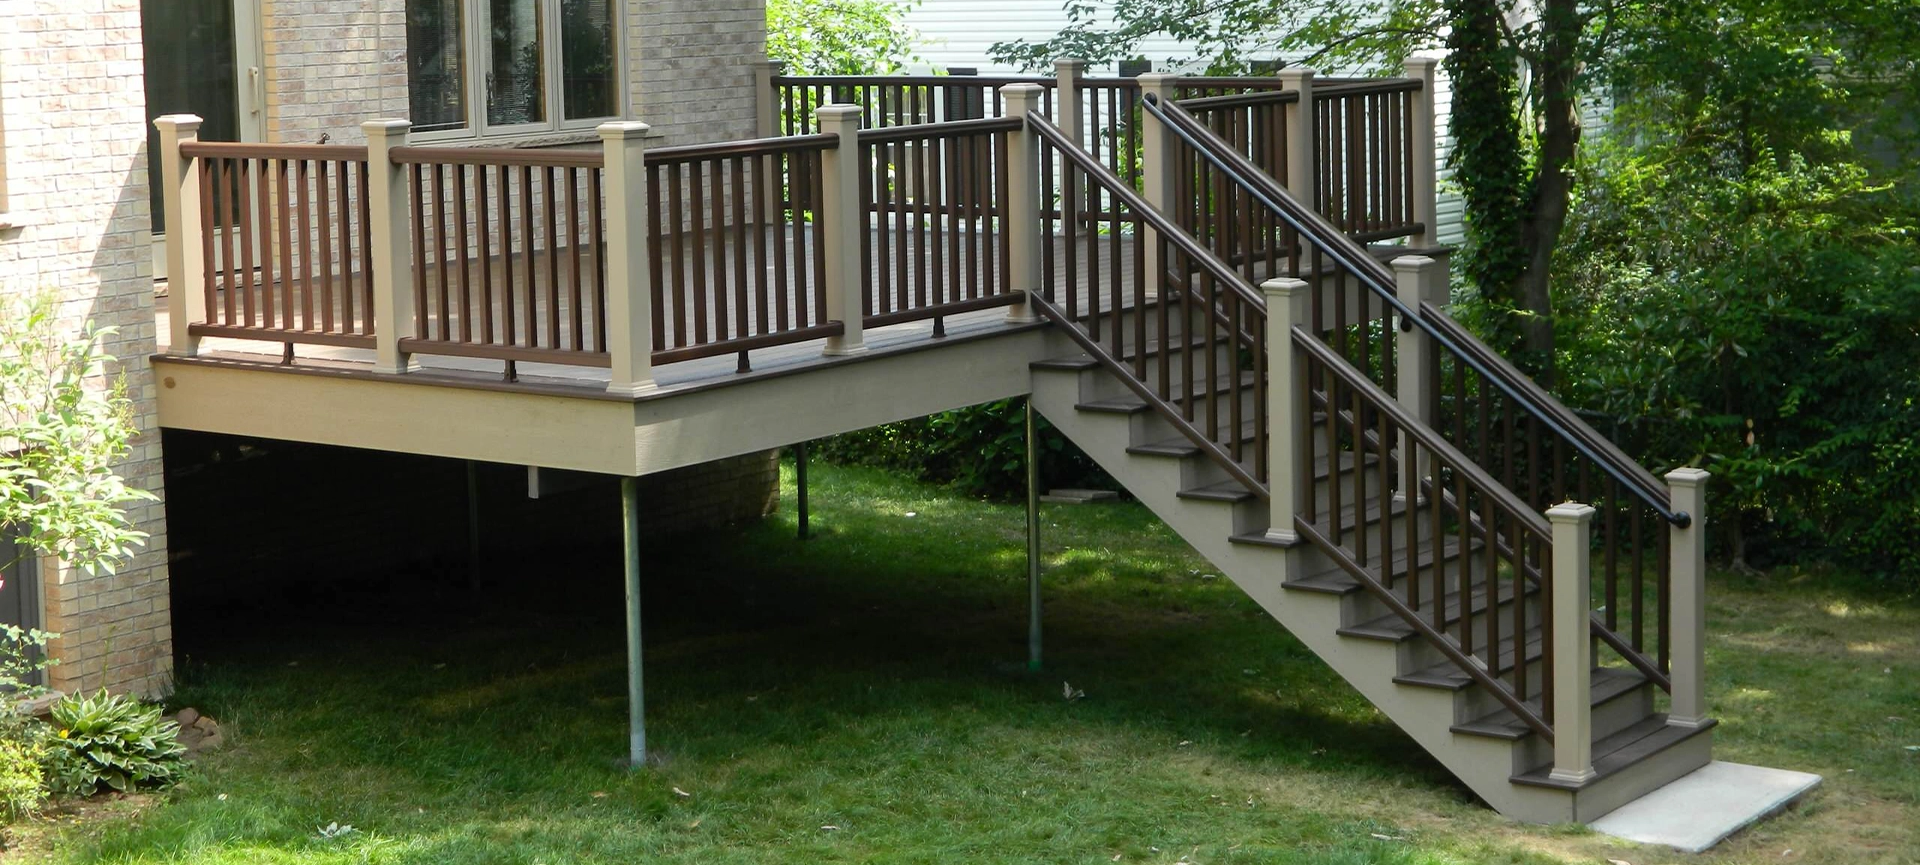
Step-by-Step Deck Railing Installation Process
Successful railing installation builds on proper material selection and code understanding, requiring a systematic approach from initial layout through final finishing touches.
When to use this: After deck frame construction and decking installation are complete, with all necessary tools gathered and materials on-site.
- Mark Post Locations: Measure and mark railing post positions every 6-8 feet maximum, ensuring corner posts and intermediate posts create a stable support structure. Check measurements twice before drilling pilot holes.
- Install Railing Posts: Attach posts using carriage bolts through the deck frame with blocking for additional support. Never attach posts only to deck boards – securely attached posts require connection to the underlying structural frame.
- Install Bottom Rails: Cut bottom rails to fit between posts, positioning them 2-4 inches above the deck surface. Drill pilot holes to prevent splitting and ensure rails remain level across the entire installation.
- Install Top Rails: Mount top rails at proper railing height (typically 36 inches for residential decks) using appropriate brackets or fasteners. Maintain level alignment across all sections for professional appearance.
- Measure and Install Balusters: Calculate baluster spacing to maintain a maximum 4-inch gap while creating visually pleasing symmetry. Cut all balusters to an identical length before beginning to install to ensure a consistent appearance.
- Secure Balusters: Attach balusters between top and bottom rails using appropriate fasteners, checking that each remains plumb and securely attached. Consider pre-drilling pilot holes to prevent material splitting.
- Add Finishing Touches: Install post caps and any decorative elements, tighten all fasteners, and inspect the complete railing system for stability and code compliance.
Comparison: DIY Installation vs Professional Installation
| Feature | DIY Installation | Professional Installation |
| Cost | $40-120 per linear foot materials only | $100-300 per linear foot, including labour |
| Time Required | 1-3 weekends for a typical deck | 1-2 days professional completion |
| Code Compliance | Requires personal research and inspection | Guaranteed compliance and permits handled |
| Tool Requirements | Must own or rent specialized tools | All tools and equipment provided |
DIY installation appeals to budget-conscious homeowners willing to invest time learning proper techniques, while professional installation guarantees code compliance and typically includes warranties covering both materials and workmanship. Local contractors like Green Side Up Contracting in the Toronto and GTA area offer expert services to ensure your deck railing meets all safety and style requirements.
Transition: Even careful planning cannot prevent all installation challenges, but understanding common issues prepares you for successful problem-solving.
Common Installation Challenges and Solutions
Railing installation frequently presents unexpected obstacles requiring creative solutions while maintaining safety codes and structural integrity.
Challenge 1: Uneven Post Spacing on Existing Decks
Solution: Use adjustable railing brackets and custom-cut rail sections to accommodate irregular spacing while maintaining code compliance.
Measure each section individually and cut rails to fit, ensuring proper support even when post spacing varies from standard dimensions.
Challenge 2: Achieving Level Rails on Sloped Decks
Solution: Step down rail sections following the deck slope or use adjustable post hardware to maintain consistent railing height.
Stepped railings work best for significant slopes, while adjustable hardware handles minor variations without compromising the classic look.
Challenge 3: Dealing with Loose Screws and Connection Issues
Solution: Use appropriate fasteners for your specific materials and drill pilot holes to prevent splitting while ensuring secure connections.
Pre-drilling prevents wood cracking while ensuring fasteners seat properly, creating connections that maintain structural integrity over time without developing loose screws.
Transition: Completing these installation steps successfully creates a safe, attractive railing system that enhances your outdoor space for years to come.
Final Thoughts
Proper deck railing installation combines safety code compliance with style enhancement, creating attractive outdoor spaces that protect your family while increasing property value. Success requires understanding building codes, selecting appropriate materials for your climate and aesthetic preferences, and following systematic installation procedures. For homeowners in Toronto and the GTA, working with local experts like Green Side Up Contracting ensures your deck railing installation meets all regional requirements and stands up to the local climate. Contact us today for a free consultation and take the first step toward a safer, more stylish outdoor space!
Frequently Asked Questions
Can I install deck railing myself, or should I hire a professional?
While DIY installation is possible with the right tools and knowledge, hiring a professional ensures your deck railing is installed correctly, meets local building codes, and guarantees safety and durability.
What is the best material for low-maintenance deck railings?
Composite and vinyl railings are excellent low-maintenance options. They resist rot, insects, and UV damage, requiring only occasional cleaning to maintain their appearance.
How do I ensure my deck railing meets safety standards?
Follow local building codes for railing height (usually a minimum of 36 inches for residential decks) and baluster spacing (no more than 4 inches apart). Secure posts to the deck frame and use appropriate fasteners to maintain structural integrity.
Can deck railings be customized to match my home’s style?
Yes, deck railings come in various materials and designs, including wood, metal, composite, and vinyl, allowing you to choose styles and finishes that complement your outdoor space and home architecture.How often should I inspect and maintain my deck railing?
Inspect your deck railing at least once a year for loose screws, damaged components, or signs of wear. Clean and perform maintenance according to the material type to ensure safety and prolong the life of your railing system.