Over time, even the best-built wood decks start to show signs of wear—splintering, fading, or structural damage. If your deck’s foundation is still solid but the surface has seen better days, resurfacing with Trex composite decking can be the perfect solution. This eco-friendly material offers long-lasting beauty with minimal maintenance and can give your outdoor space a completely new look without the cost of a full rebuild.
Green Side Up Contracting, based in the Greater Toronto Area, specializes in high-quality deck restorations using Trex and other premium materials. With years of experience and a reputation for excellence, we help homeowners modernize their decks efficiently and professionally.
This guide walks you through everything you need to know about resurfacing a deck with Trex—from inspection to installation—so you can decide whether this upgrade is right for your home.
Related Article: How Much Does It Cost to Resurface a Deck?
Why Choose Trex for Deck Resurfacing
Resurfacing a deck with Trex offers a number of benefits over traditional wood or low-grade composite alternatives. Trex is a high-performance composite material made from recycled wood and plastic, designed to withstand harsh Canadian climates. It delivers a beautiful finish without the frequent upkeep required by traditional wood decking.
- Durability: Trex decking is engineered for superior durability. Unlike wood, it resists rot, warping, splintering, and insect damage. This makes it especially suited for the fluctuating temperatures and moisture exposure of Canadian backyards.
- Low Maintenance: With Trex, there’s no need for annual sanding, staining, or sealing. A quick clean with soap and water is typically enough to keep it looking like new. That means fewer weekends spent maintaining your deck and more time enjoying it.
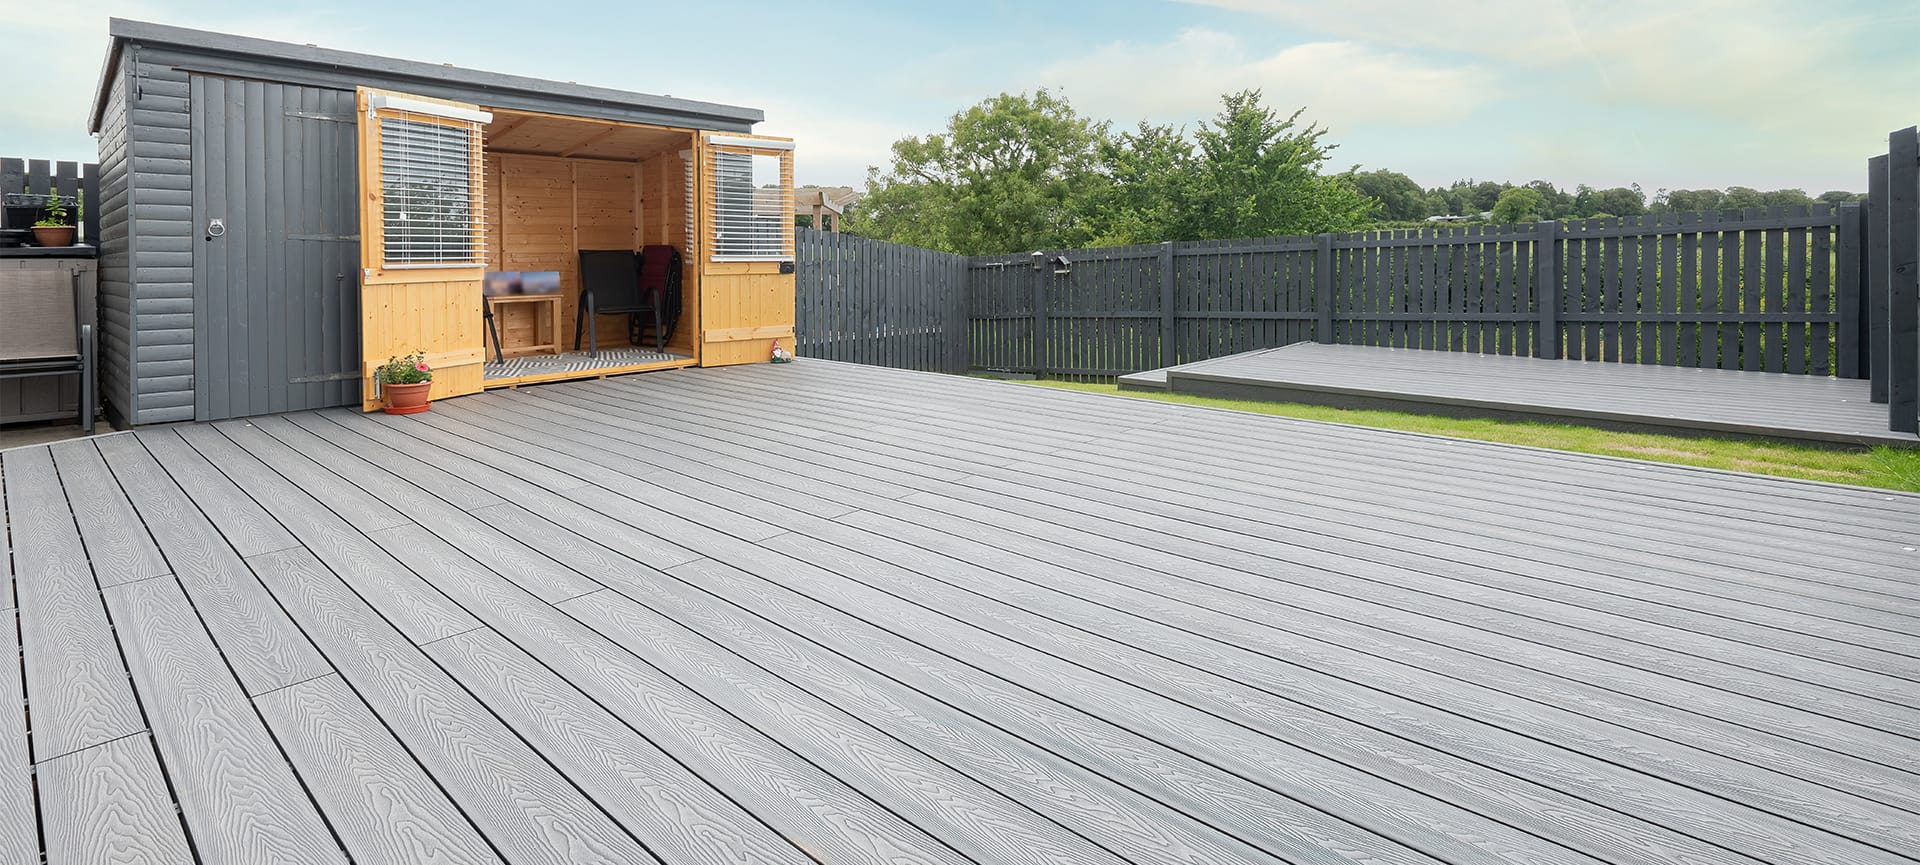
- Aesthetics: Trex boards are available in a wide variety of rich colours and natural-looking grain patterns, making it easy to find a style that complements your home and landscape design. Whether you prefer a rustic look or a sleek, modern finish, Trex has a product for you.
- Eco-Friendly: Trex is one of the most sustainable decking materials available. Made from 95% recycled content, including reclaimed wood and plastic film, it helps reduce landfill waste and supports environmentally conscious construction.
Choosing Trex for resurfacing is a smart investment that enhances curb appeal, increases home value, and dramatically reduces long-term maintenance and repair costs.
Related Article: Decking Trends to Watch in 2025
Inspecting the Existing Deck Frame
Before you can resurface, it’s critical to ensure the existing substructure is safe and stable. Trex decking is only as reliable as the frame it sits on, so this step cannot be skipped.
- Check for rot or decay in beams, joists, and posts. Wood that’s soft, discoloured, or crumbling may need to be replaced to ensure safety.
- Look for warping, movement, or separation between structural elements. Uneven or unstable framing can affect the look and function of the new deck surface.
- Inspect hardware like joist hangers, screws, and bolts for rust, corrosion, or loosening. Replacing aged fasteners and reinforcing key connections adds years to the life of your deck.
If the frame is compromised, a partial or full replacement may be needed before resurfacing. Green Side Up Contracting provides professional inspections and carpentry services to ensure your existing structure is fully prepared for Trex installation.
Removing the Old Deck Boards
Once the structure is approved, the old surface needs to be removed. This step prepares the frame for a clean installation of Trex decking.
- Carefully detach wood planks using a pry bar, screw gun, and other tools. This prevents unnecessary damage to the frame.
- Remove all nails or screws to avoid interference with the new decking installation. Hidden fasteners, if left in place, can also weaken new attachments.
- Dispose of old materials responsibly, recycling wood and metal fasteners when possible. Green Side Up follows environmentally friendly disposal practices.
This is also an ideal opportunity to clean the frame, sweep away debris, and address any minor repairs such as tightening loose fasteners or applying wood preservatives.
Related Article: Why Trex Is Our Recommended Decking Material in 2024
Installing Trex Decking Boards
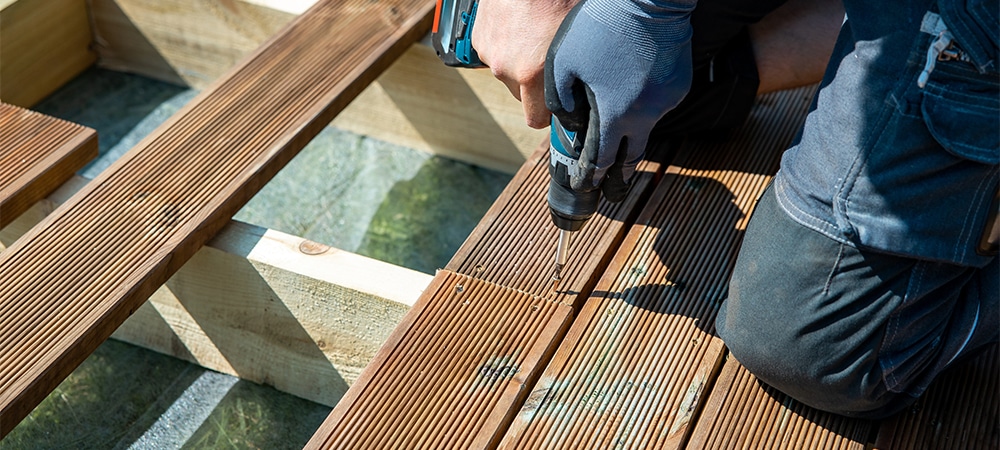
With the old boards removed and the frame ready, it’s time to install the new Trex decking—this is where your updated deck really starts to take shape.
- Start with a solid plan, including detailed measurements, board layout, and optimal spacing. Trex decking expands and contracts slightly with temperature, so accurate planning ensures longevity and aesthetics.
- Use hidden fasteners for a seamless appearance and secure attachment. This improves the visual appeal and prevents surface screws from becoming trip hazards.
- Follow manufacturer guidelines for board gapping, screw placement, and installation sequence. Proper spacing allows for ventilation and drainage, preventing moisture buildup.
- Trim ends cleanly for a polished and professional finish. Clean edges and uniform gaps create a cohesive, high-end look.
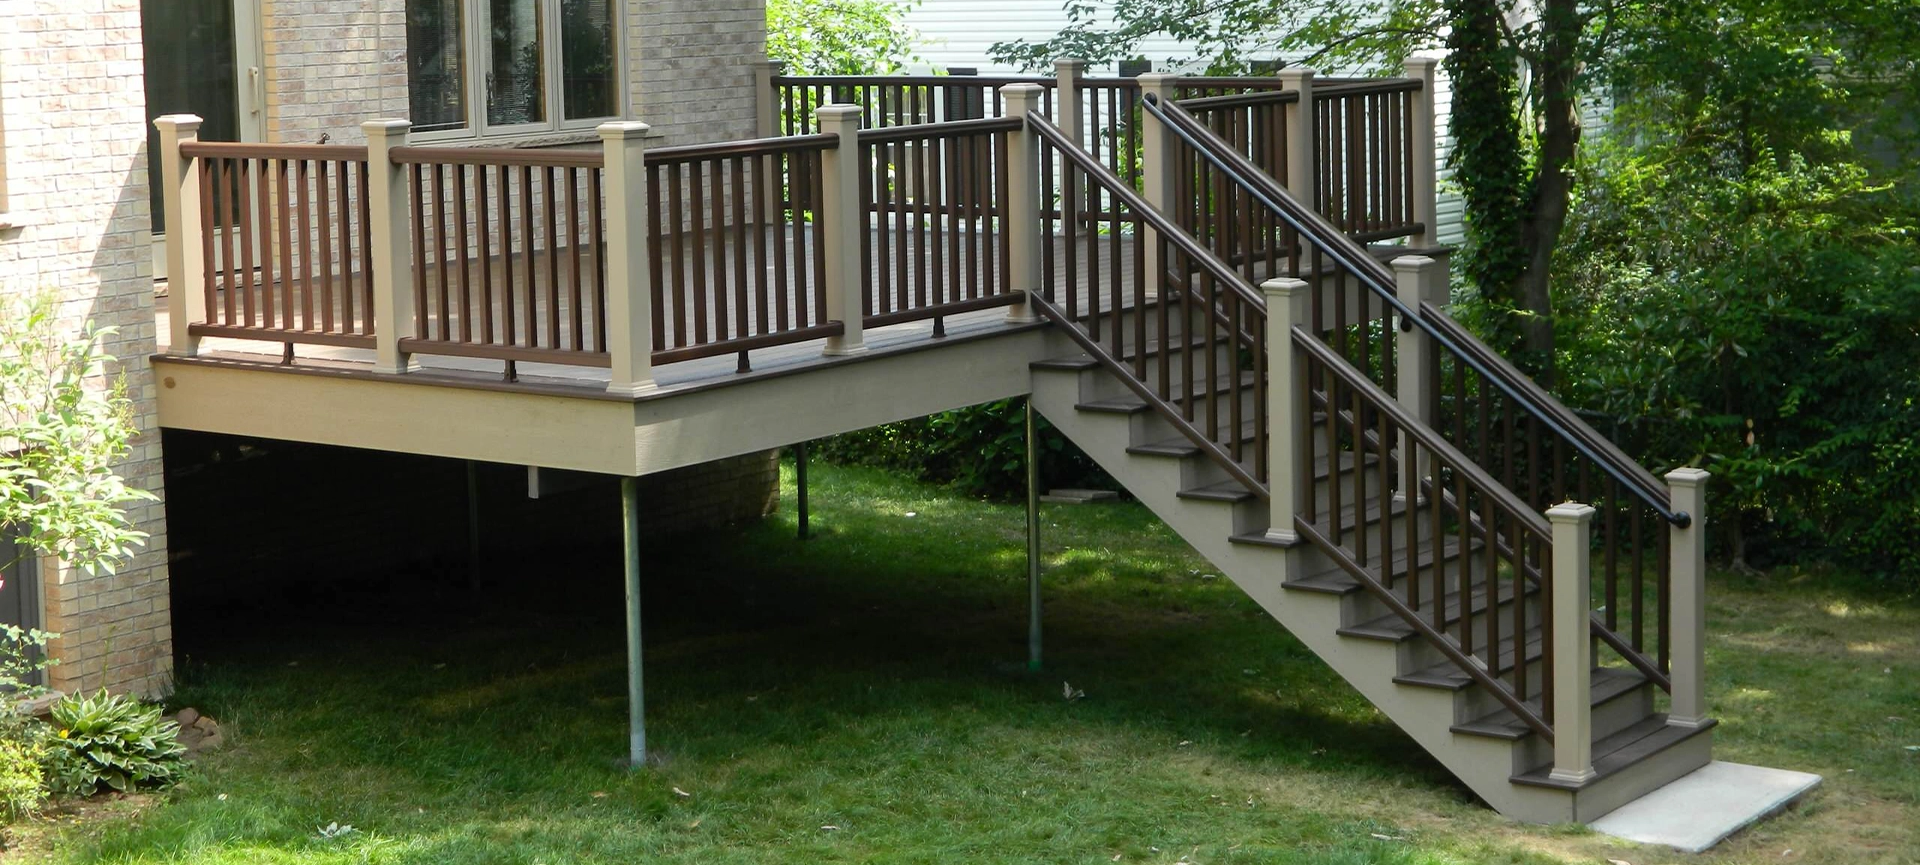
Adding Fascia, Stairs, and Railings
Finishing touches make a big impact on both safety and style:
- Fascia boards cover exposed framing and give the deck a polished, cohesive look. This improves aesthetics and protects the substructure from moisture and pests.
- Trex-compatible railings offer a blend of function and beauty. Available in various colours and styles, these railings provide added safety—especially important for elevated decks—and help tie the design together.
- Stairs should not be overlooked. Whether resurfaced or rebuilt, Trex stair treads offer consistent visual appeal and non-slip durability. Matching the stairs with your decking ensures a seamless transition from deck to yard.
Customizing these features allows you to align your deck with your personal style while meeting local building codes and enhancing everyday use.
Final Inspection and Cleanup
After the installation is complete, it’s time for a final walkthrough:
- Inspect spacing, alignment, and fasteners to ensure everything is secure and properly placed. Any misaligned or loosely attached boards are corrected.
- Check railings and stairs for strength and stability to confirm compliance with safety standards.
- Clean the area thoroughly, removing construction debris, tools, and leftover materials. A clean site not only looks professional but allows homeowners to enjoy their new deck immediately.
Green Side Up always completes a final quality check to ensure customer satisfaction.
Related Article: What Is Trex Rainescape?
Maintenance Tips for Trex Decking
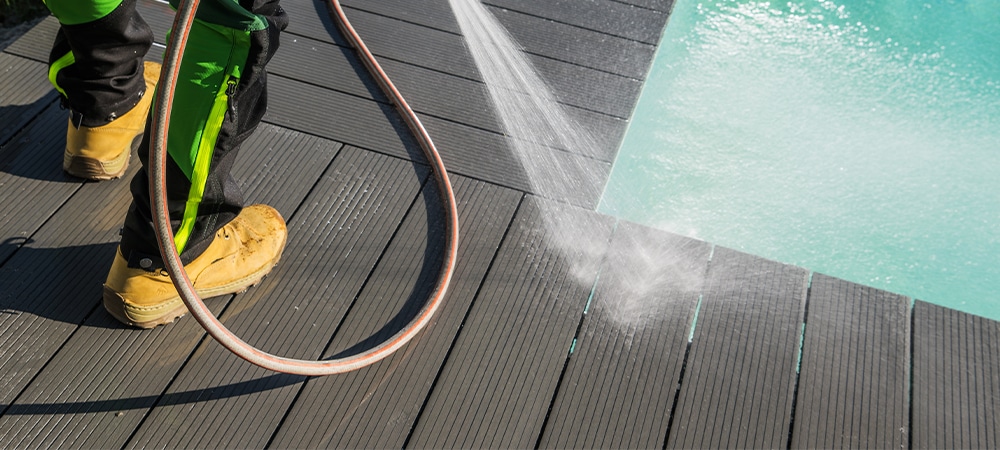
One of the key benefits of Trex is how easy it is to maintain:
- Regular sweeping to remove leaves and debris.
- Occasional washing with mild soap and water to prevent buildup.
- Avoid abrasive tools or pressure washers that may damage the surface.
- Check fasteners and railings annually to ensure continued safety.
With proper care, a resurfaced Trex deck can look like new for decades.
Give Your Deck a Fresh Start
Resurfacing your deck with Trex is an effective way to modernize your backyard without a full rebuild. It offers long-term durability, beauty, and low maintenance. Green Side Up Contracting specializes in expert Trex deck resurfacing services throughout the Greater Toronto Area. If your existing deck frame is in good shape, resurfacing can save you money while delivering a high-end look that lasts.
Ready to upgrade your outdoor space? Contact Green Side Up for a free consultation and bring your dream deck to life with Trex.